Procedural World Generation
- Kyle and Rich
- Jul 29, 2018
- 4 min read
The World
Much Dungeon’s world is generated on a grid system. Each cell within the grid is a “tile” that we can place enemies, items, the player, etc into. A block of tiles are a “chunk.” Chunks are used for subdividing storage and scheduling generation.
Our goal is to procedurally generate many smaller levels that interconnect in interesting combinations for the player to explore. Each small level is a “biome” and may use different layouts, graphics, and have different rules for spawning enemies.
Our secondary goal is to break algorithms and generation up into more manageable smaller pieces. Initial attempts to generate the entire world with a single process ended up being a mess.
The Process
Our generation process is done over four stages and scheduled chunk by chunk. In order for a chunk to be generated up to some stage, all adjacent chunks must have already been generated to the previous stage. Stage 1 is the only stage that doesn’t require any previous generation.
(Example: to generate a chunk to stage 4, all adjacent chunks must be generated to stage 3)
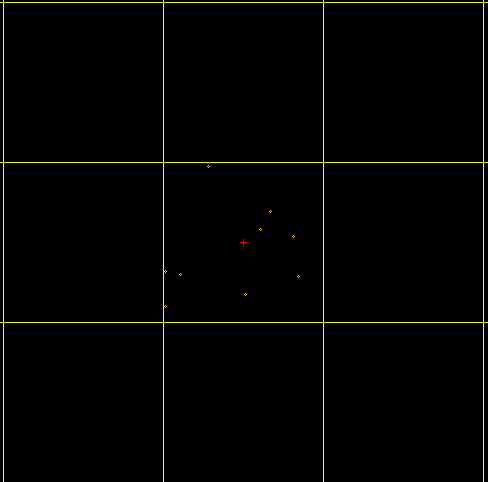
Stage 1
The first stage of generation randomly selects tiles within a chunk. These will become the center points of biomes later. We discard any duplicates, but don’t apply any distance checks or other trims at this point.
This is also where we can apply special case placements based on a chunk’s x,y,z coordinate. Such as a chunk with a single centered biome.
At the end of this stage, we have all possible locations within a chunk that may have biomes generated.
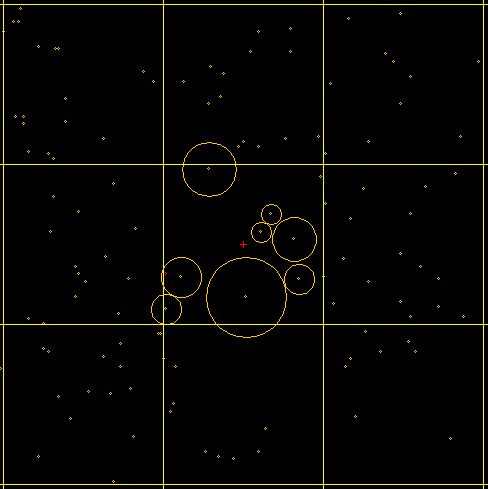
Stage 2
The second stage of generation processes the points generated from stage 1. Each possible biome center is checked to find the distance to the closest valid biome edge, including adjacent chunks. If the distance is below some threshold, the biome is marked invalid and discarded.
Biomes that are far enough from all other biomes, including biomes in adjacent chunks, are marked as valid and given a radius. No biome should overlap with another, so all distances are really from a possible biome’s center to nearby valid biome edges. We limit a biome’s radius to be within some min/max radius, assuming enough space exists to not overlap other biomes.
At the end of this stage, we have all locations within a chunk that will have biomes generated and at what sizes.
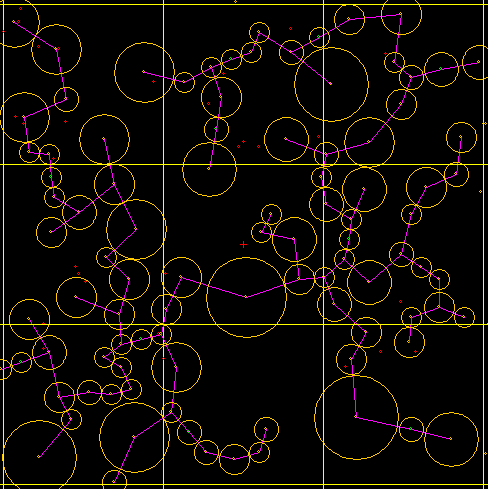
Stage 3
The third stage processes all valid biomes and determines how they will connect to each other. It takes all valid biomes from the previous stage as well as any valid biomes in adjacent chunks and generates a minimum spanning tree. These connections are saved to be populated later.
After generation, each connection is checked for empty space between source and destination biome edges. If enough space exists between them, a new biome is generated, set with a radius, and injected to fill the gap.
This stage is run for all chunks and always includes adjacent chunks. This means each chunk is included in multiple 3x3 chunk minimum spanning tree generations and usually results in more than one path to move through the world. Which is a good thing.
Note - Injecting biomes requires loading all valid biomes within 2 chunks of our source to avoid injecting a biome into a connection made in an adjacent biome that would extend out into a farther chunk and possibly cause an overlap.
At the end of this stage, we have most biome locations and connections within a chunk. If other stage 3s run in adjacent chunks, it’s possible for more biomes or connections to be generated within this chunk.
Stage 4
The fourth stage is the final heavy-lifting portion of the generation process. Due to the requirement that all adjacent stages must have already completed stage 3, at this point we finally have the complete set of all biome locations, with sizes, and their connections to other biomes.
First, each valid biome is inspected and set with a biome type that it should generate. Available types are based on our configuration and restricted based on chunk x,y,z location, biome size, number of connections to other biomes, and/or just random chance. We'll have a blog on configuration at a later point.
The selected biome type algorithm and config determines where rooms should be generated within the biome’s radius and how those rooms should be connected. Each biome generates it’s floor and wall background tiles at this point. This continues for all valid biomes.
Note - room connections are generated to not overlap other rooms. This simplifies our connection algorithms.
Now that all biomes have written out their desired floor and walls, all biome connections are generated. Based on the connections in stage 3, the closest rooms in the source and destination biomes are selected and connected by a hallway. After all connections are processed, all remaining unused tiles within the chunk are filled in.
We base our fill on the chunk’s Z coordinate to either fill with grass or dirt tiles (surface or not).
At this point all background floor, wall, and filler tiles are set, all rooms are defined, and all connections have been filled for all biomes within our chunk. We still don’t have any content in our rooms though.
Each previously generated room is inspected and set with a room type that should be used for population. Available room types are based on our configuration and again restricted based on chunk x,y,z location, room size, number of room connections, if the room is a biome exit/dead-end, etc, etc. The selected room type is used to determine what kind of doors, enemies, decorations, and how many of each should be generated within the room.
After decorating each room, generation is complete. We have a single chunk with multiple connected biomes each containing multiple, connected, and decorated rooms.
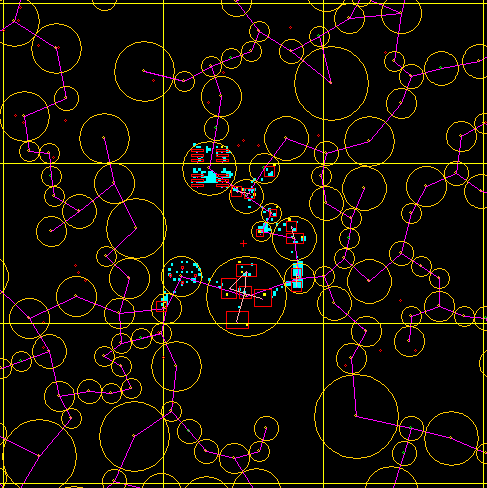
Example:
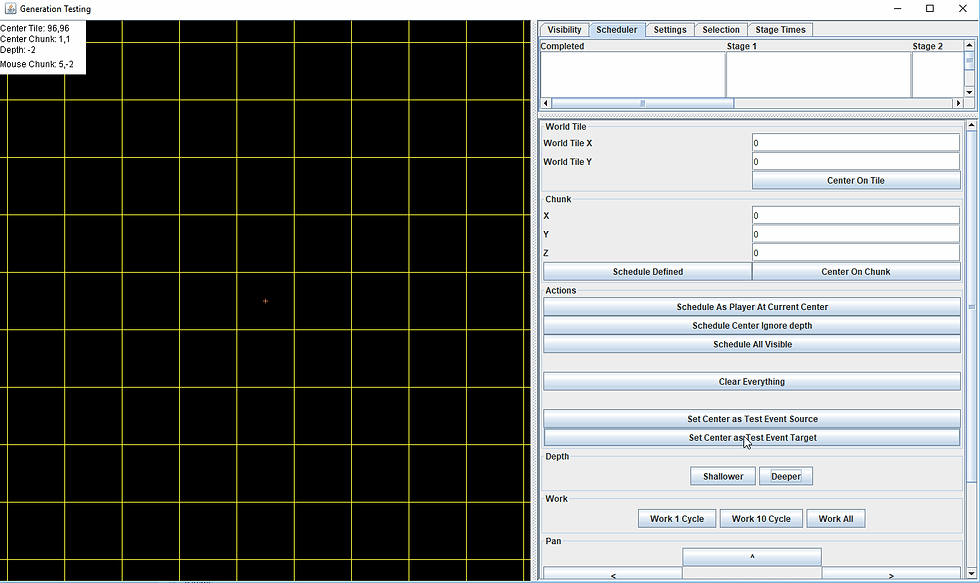
The GIF bellow is from one of our generation testing tools. This tool can be used to schedule each stage of generation and step though it. For the case of this blog post it functions well to illustrate each the the stages graphically. This generation tool will probably show up in lots of future blog posts as its one of our primary tools for testing our config on a large scale.